
Lesson 1: A First Look at Metrix 4
Lesson 1 teaches the basics of working with Metrix.
Starting Metrix
To launch Metrix from your Windows Desktop, double click on the Metrix icon shortcut, or from the Start menu Programs folder, choose Metrix 4.
After clicking on the Metrix icon, an empty Metrix frame will come up, as shown below in Figure 2.1:
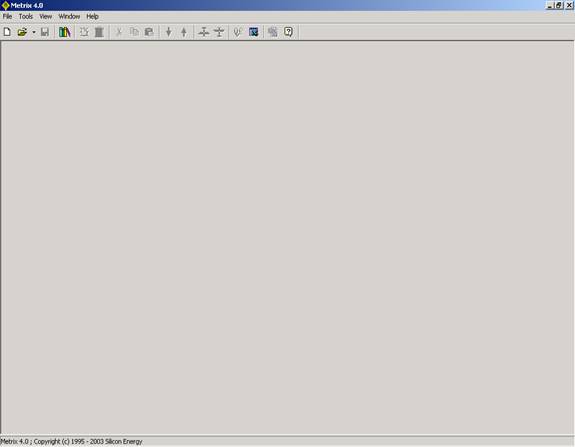
Figure 2.1: The Metrix Frame
Creating a New Metrix Project
To create your new Metrix Project for this tutorial, select File | New Project from the menu. You will then see an empty Metrix Project. The new Project has a few items already stocked in it, which we will fill out later.
A Look at the Metrix Display
The following will come up on the computer screen as seen in Figure 2.2:
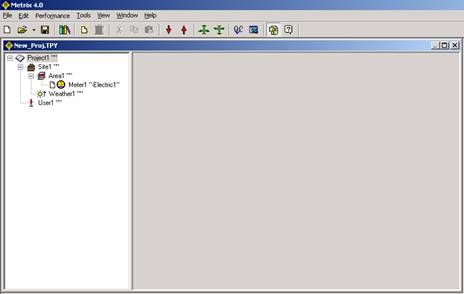
Figure 2.2: The Metrix Display
For each open Metrix Project, there are two panes: the pane on the left is a tree diagram that displays the items in the project. Click on an item on the left, and the pane on the right will become an associated data form. In Figure 2.3, the example below, we have clicked on the Site1 item:
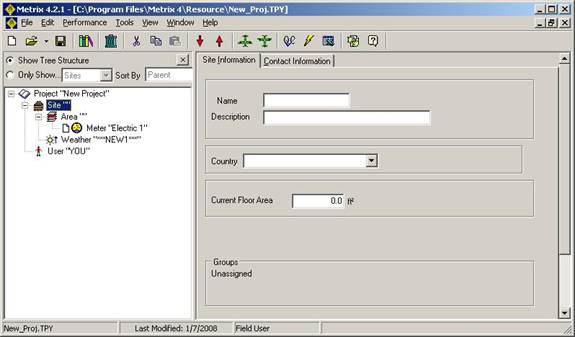
Figure 2.3: Site Information Data Form
A First Look at the Tree Diagram
In previous versions of Metrix, the different Views did not show all items at the same time. Metrix now shows all items in the Tree Diagram.
Notice that there is a “-” to the left of the project item. Click on the “-“, and see that the tree will hide the descendent items attached to the project, and the “-” becomes a “+.” If the “+” is clicked, the Child items will again appear.
Note: Child and Parent items will often be referred to in this manual. A Child item is one that is attached to the Parent, and is of a lower order. A Parent item can never be attached to a Child item. As an example, a Meter is a Child of an Area, and an Area is a Child of a Site.
Clicking on any item in the Tree Diagram will bring up the corresponding data forms in the right pane.
A Different Way to Search for Items
There is another way to find Items in your project. It won’t seem useful right now since we are only looking at a small project, but if managing a large project, this feature will prove quite handy. If Fig. 2.4, directly above the Tree Diagram is not seen, then go to the menu, and select View | Hide StylePanel.
![]()
Figure 2.4: View Options
Your Items will now be shown in a list-style view. These Items can be sorted by Meter, Area, or Site. Click on Only Show Meters Notice in Figure 2.5 below that the Tree Diagram has been replaced with a listing. The items in your project can be listed by nearly any item type and sorted by Name, Description, Account Number, etc. Additionally, clicking on the headers, such as Name, will sort the items by that column.
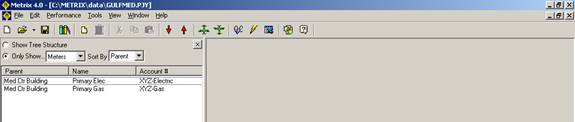
Figure 2.5: List Style View
A First Look at the Data Pane
We will input data into the right pane. Some items have several tabs across the top. These tabs will pull up the different pages associated with the form. Select the Project item in the Tree Diagram as shown in Figure 2.6. The Project Data form will come up. Click on the tabs to see the different pages available. Don’t worry about specifics yet. We will revisit these data forms later.
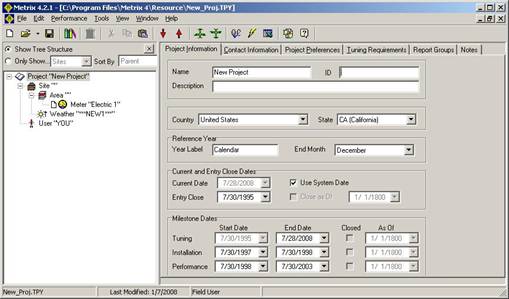
Figure 2.6: The Data Pane
Setting User Options
Select Tools | Options from the menu. The following Options dialog box, Figure 2.7, will come up:
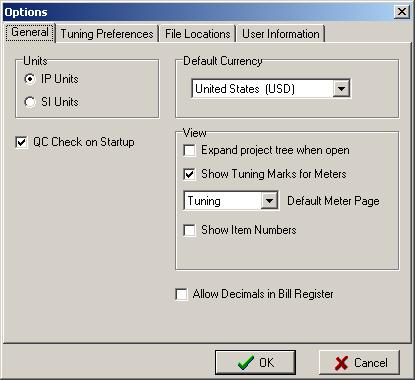
Figure 2.7: User Options: General Field
If using SI units, then click on the SI Units radio button as shown in Figure 2.7. If the location of the system is outside the United States, choose the proper currency. If data going into Metrix is desired as decimals, check the Allow Decimals in Bill Register checkbox.
Click on the User Information tab. The following Options dialog box will open as in Figure 2.8:
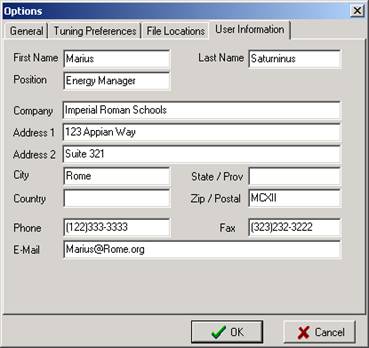
Figure 2.8: User Options: User Information
Fill the dialog box with your information. This is a one-time entry and will not have to be repeated.
Click on the File Locations tab and view the File Locations Data Form as in Figure 2.9:
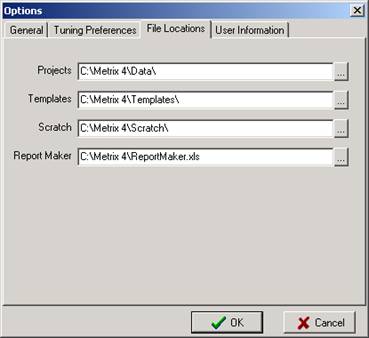
Figure 2.9: File Locations Data Form
The directories of the monitored system will be listed here. They may not match what is in the picture, but should be correct. When selecting from the menu File | Open, Metrix will look in the directory listed in the Data text box.
Closing the Project
In this lesson, we became acquainted with the new look of Metrix. Select File | Close to close the new project just created. Don’t save it, as there will be other in depth examples to follow.